
Before I launch into a breakdown of very specific brewing equipment, let me start by spelling out what a lot of other brewers will tell you:
You can make very good beer with a £50 kit from your local brew store.
And it’s true. I sometimes stare at my brewing apparatus and think of what I could have bought for the same money. A trip to Disneyland with private dining at Cinderella’s Royal Table. A year’s dialysis support for a complete stranger. Or a thousand bottles of actual craft ale from my local store.
Instead, I remind myself that having a good set-up means you can control almost every detail of the science behind brewing. And that’s what makes it interesting.
And while it may not turn out exactly like your favourite craft brew, it feels good to know you got it pretty bloody close. And sometimes, even better.
Mashing
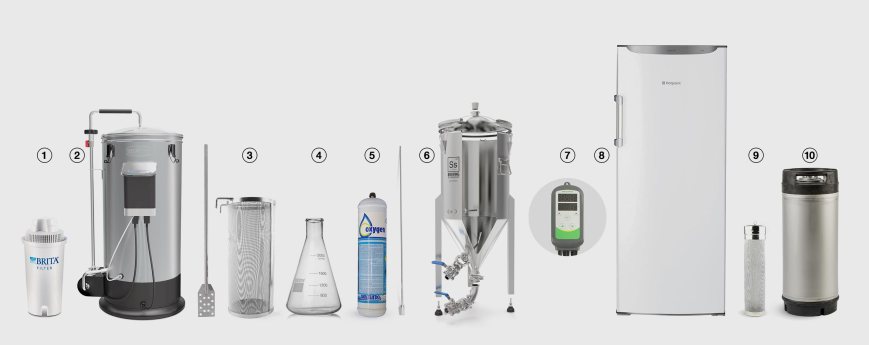
- Brita Water Filter
Edinburgh’s tap water is pretty clean, and by filtering out it’s mineral content, I can use brewing salts to build a water profile for any recipe.
- Grainfather
This piece of kit lets you temperature control your mash steps, boil your wort, and perform extended hop stands with a fixed temperature. And all for £600.
- Hop filter
No more blocked pumps or excess hop debris in your fermentor – just add all your hops to this basket and hook to the side of your boiling vessel.
Fermentation
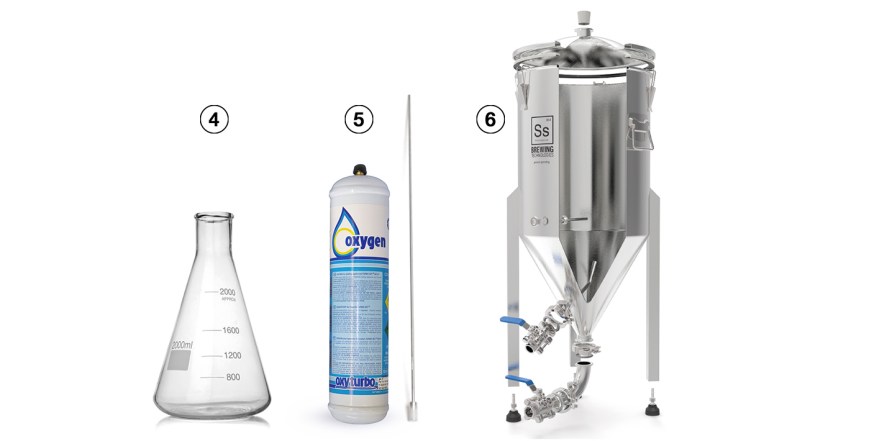
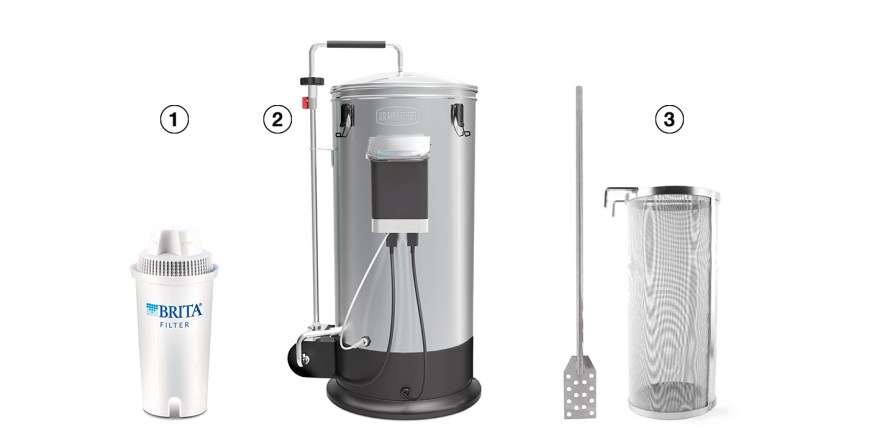
- Erlenmeyer flask
Making a yeast starter mean you can pitch a higher yeast cell count into your fermentor on brew day. And this is the easiest way of making one. Boil water and dry malt extract over a gas flame, cool to room temperature and pitch your yeast. This one’s a 2l borosilicate erlenmeyer, which will get your yeast cell count well over the required number for a 30l brew. -
Oxygen & aeration wand
A big yeast starter is only useful if there’s enough oxygen in the wort for it to feed off, allowing the yeast to multiply rapidly and start fermenting quickly. I blast pure oxygen into the wort using an aeration wand.
- SS Brewtech Conical Fermentor
Simple, sturdy construction and easy to assemble. This conical fermentor allows you to settle your trub and dump it off prior to pitching your yeast. And once your beer’s fermented, you can draw off your yeast for recycling. So if you’re currently buying expensive liquid yeast, you’ll eventually be able to justify the hefty price tag.
Fermenting & conditioning
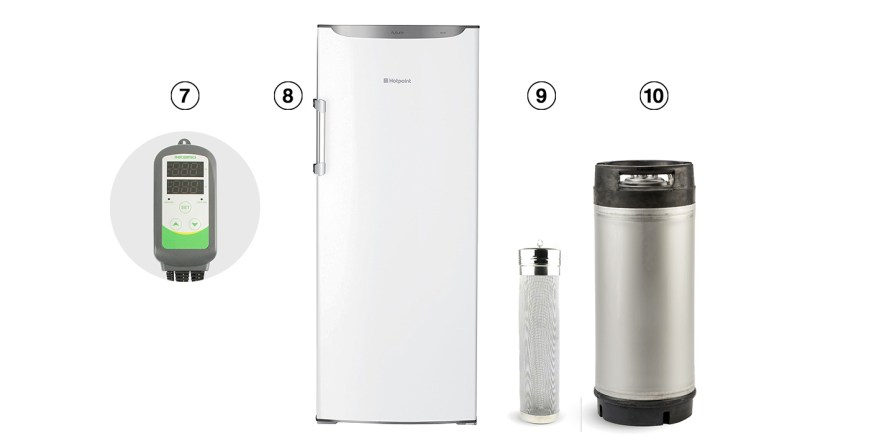
- Inkbird temperature controller
The cheapest and easiest way to turn an old fridge into a temperature-controlled fermentation chamber is with one of these Inkbird dual temperature controllers. Pop its temperature probe into your fermenter’s thermowell (or dangle it inside the fridge) and plug your fridge into its power socket. As your brew ferments and rises above your specified temperature, it’ll switch the fridge on to bring it back down. You can also plug in a tube heater if you need it to keep your brew in higher temperature ranges.
- Fridge
You’ll be surprised how many fermentors don’t fit into a standard under-the-counter fridge once you get your airlock on. Bucket fermentors are fine, but my Speidel 30l barrels and SS Brewtech Conical are just a bit too tall. In these cases, you’ll need something with a bit more height.
- Dry Hopper
Great for dry-hopping in the keg without causing blockages. It’s lightweight construction means it floats in the keg so you don’t need to fish around to find it when it’s time to come out.
- Cornelius Keg
You’ll need a bottle of CO2 to use kegs, but once you’re up and running there’s no better way to store and serve your beer. Having a supply of CO2 means you can purge all your transfer tubing and kegs so that your fermented beer never has contact with oxygen, keeping the flavour in top condition.
